How to Pack a Kitchen Like a Pro
The kitchen is the room that surprises people. You start a drawer at a time, feeling ahead of schedule, and six hours later you are still wrapping mugs at midnight the night before the truck shows up. It is the heaviest room in most homes and the one with the most breakable items packed into the smallest cabinets. After more than 1,000 moves around Spokane, we can tell you the kitchen is where most damage happens, and it is almost always avoidable.
Here is exactly how we pack a kitchen so plates, wine glasses, and your good stand mixer arrive in one piece.
Start With the Right Boxes and Supplies
Half of a broken dish is a bad box. Grocery-store boxes are the wrong size, they are usually weak, and they tempt you to overfill. For a kitchen you want a small set of the right containers.
- Dish pack (dish barrel) boxes. These are double-walled and built for plates, bowls, and glassware. If you buy one specialty box for the whole move, make it these.
- Small boxes for canned goods and anything dense. Heavy things go in small boxes so nobody throws out their back and the bottom does not blow out.
- Medium boxes for pots, pans, and mixing bowls.
- Cell or divider inserts for stemware and drinking glasses. Each glass gets its own padded slot.
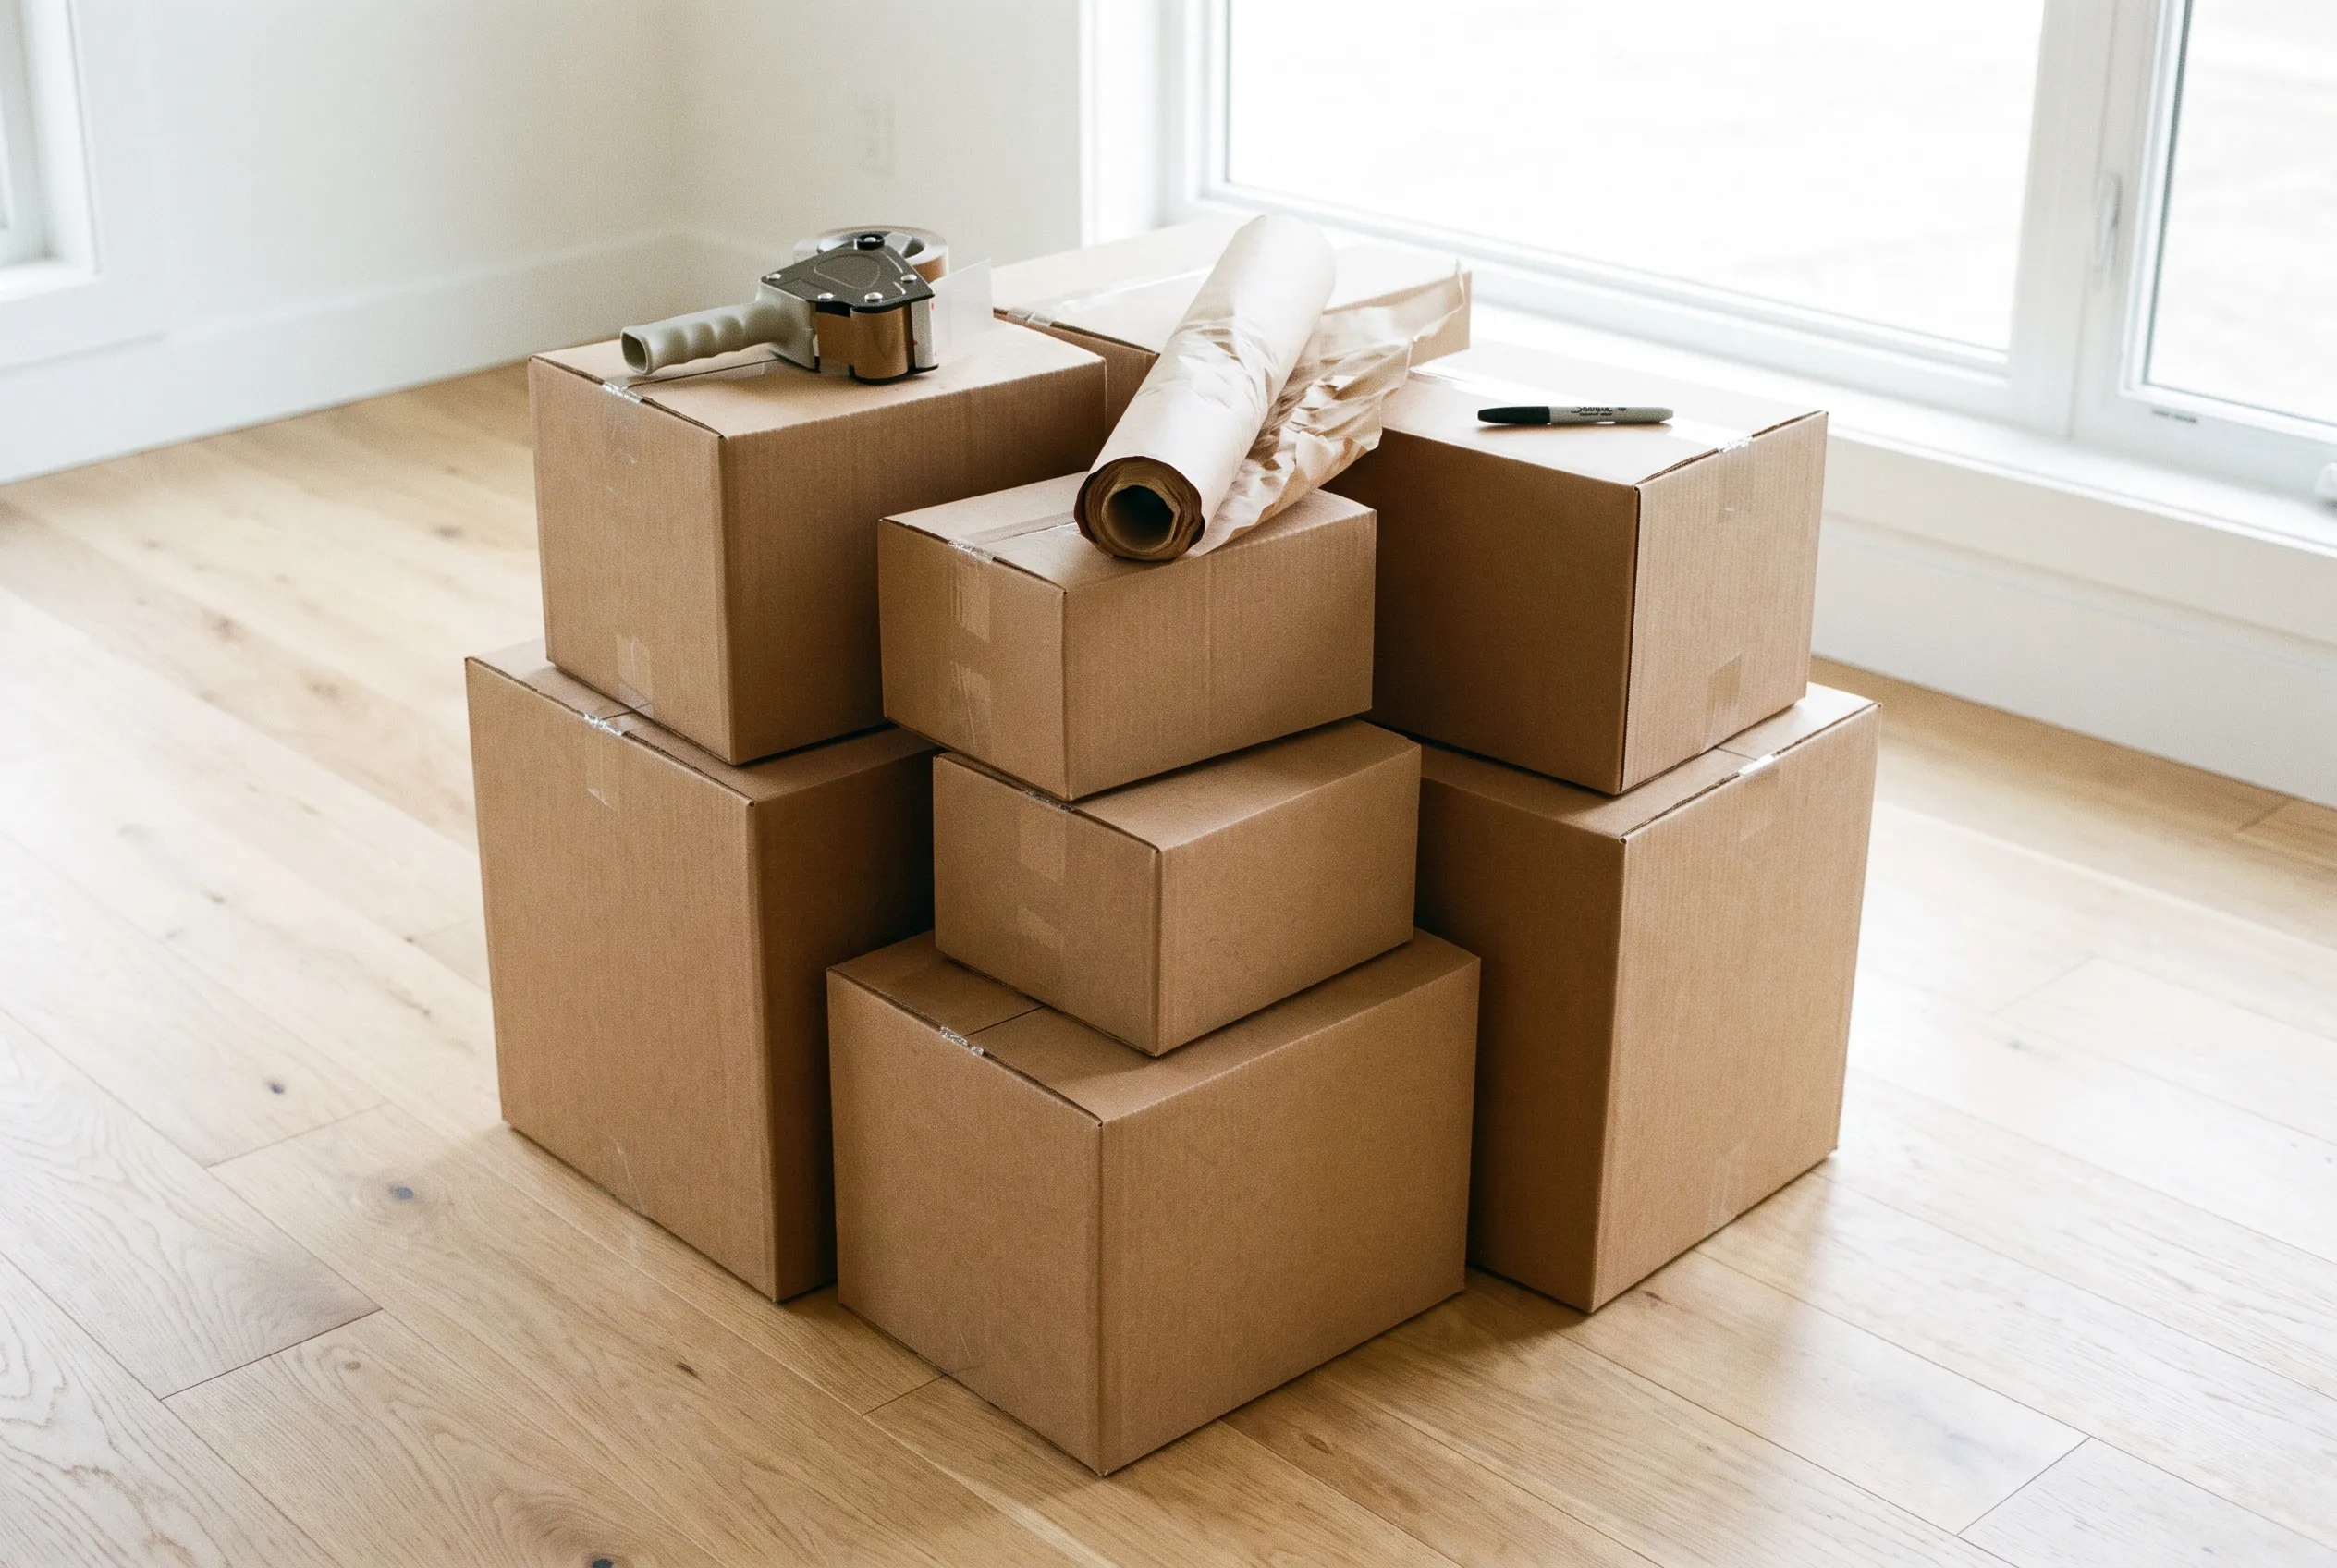
- A full ream of packing paper (not newspaper, which leaves ink on everything), a roll or two of bubble wrap, quality packing tape, and a couple of thick markers.
If you would rather not chase down supplies, we keep packing supplies in stock and can drop off exactly what your kitchen needs. Here is how we match the box to the contents.
| Box type | Best for | The rule that matters |
|---|---|---|
| Dish pack | Plates, bowls, glassware | Line the bottom with 3 inches of crushed paper |
| Small box | Canned goods, jars, spices | Keep it under about 30 lbs so it stays liftable |
| Medium box | Pots, pans, small appliances | Fill gaps so nothing shifts in transit |
| Cell insert | Wine glasses, stemware | One glass per cell, wrapped, standing upright |
Pack Plates Standing on Edge
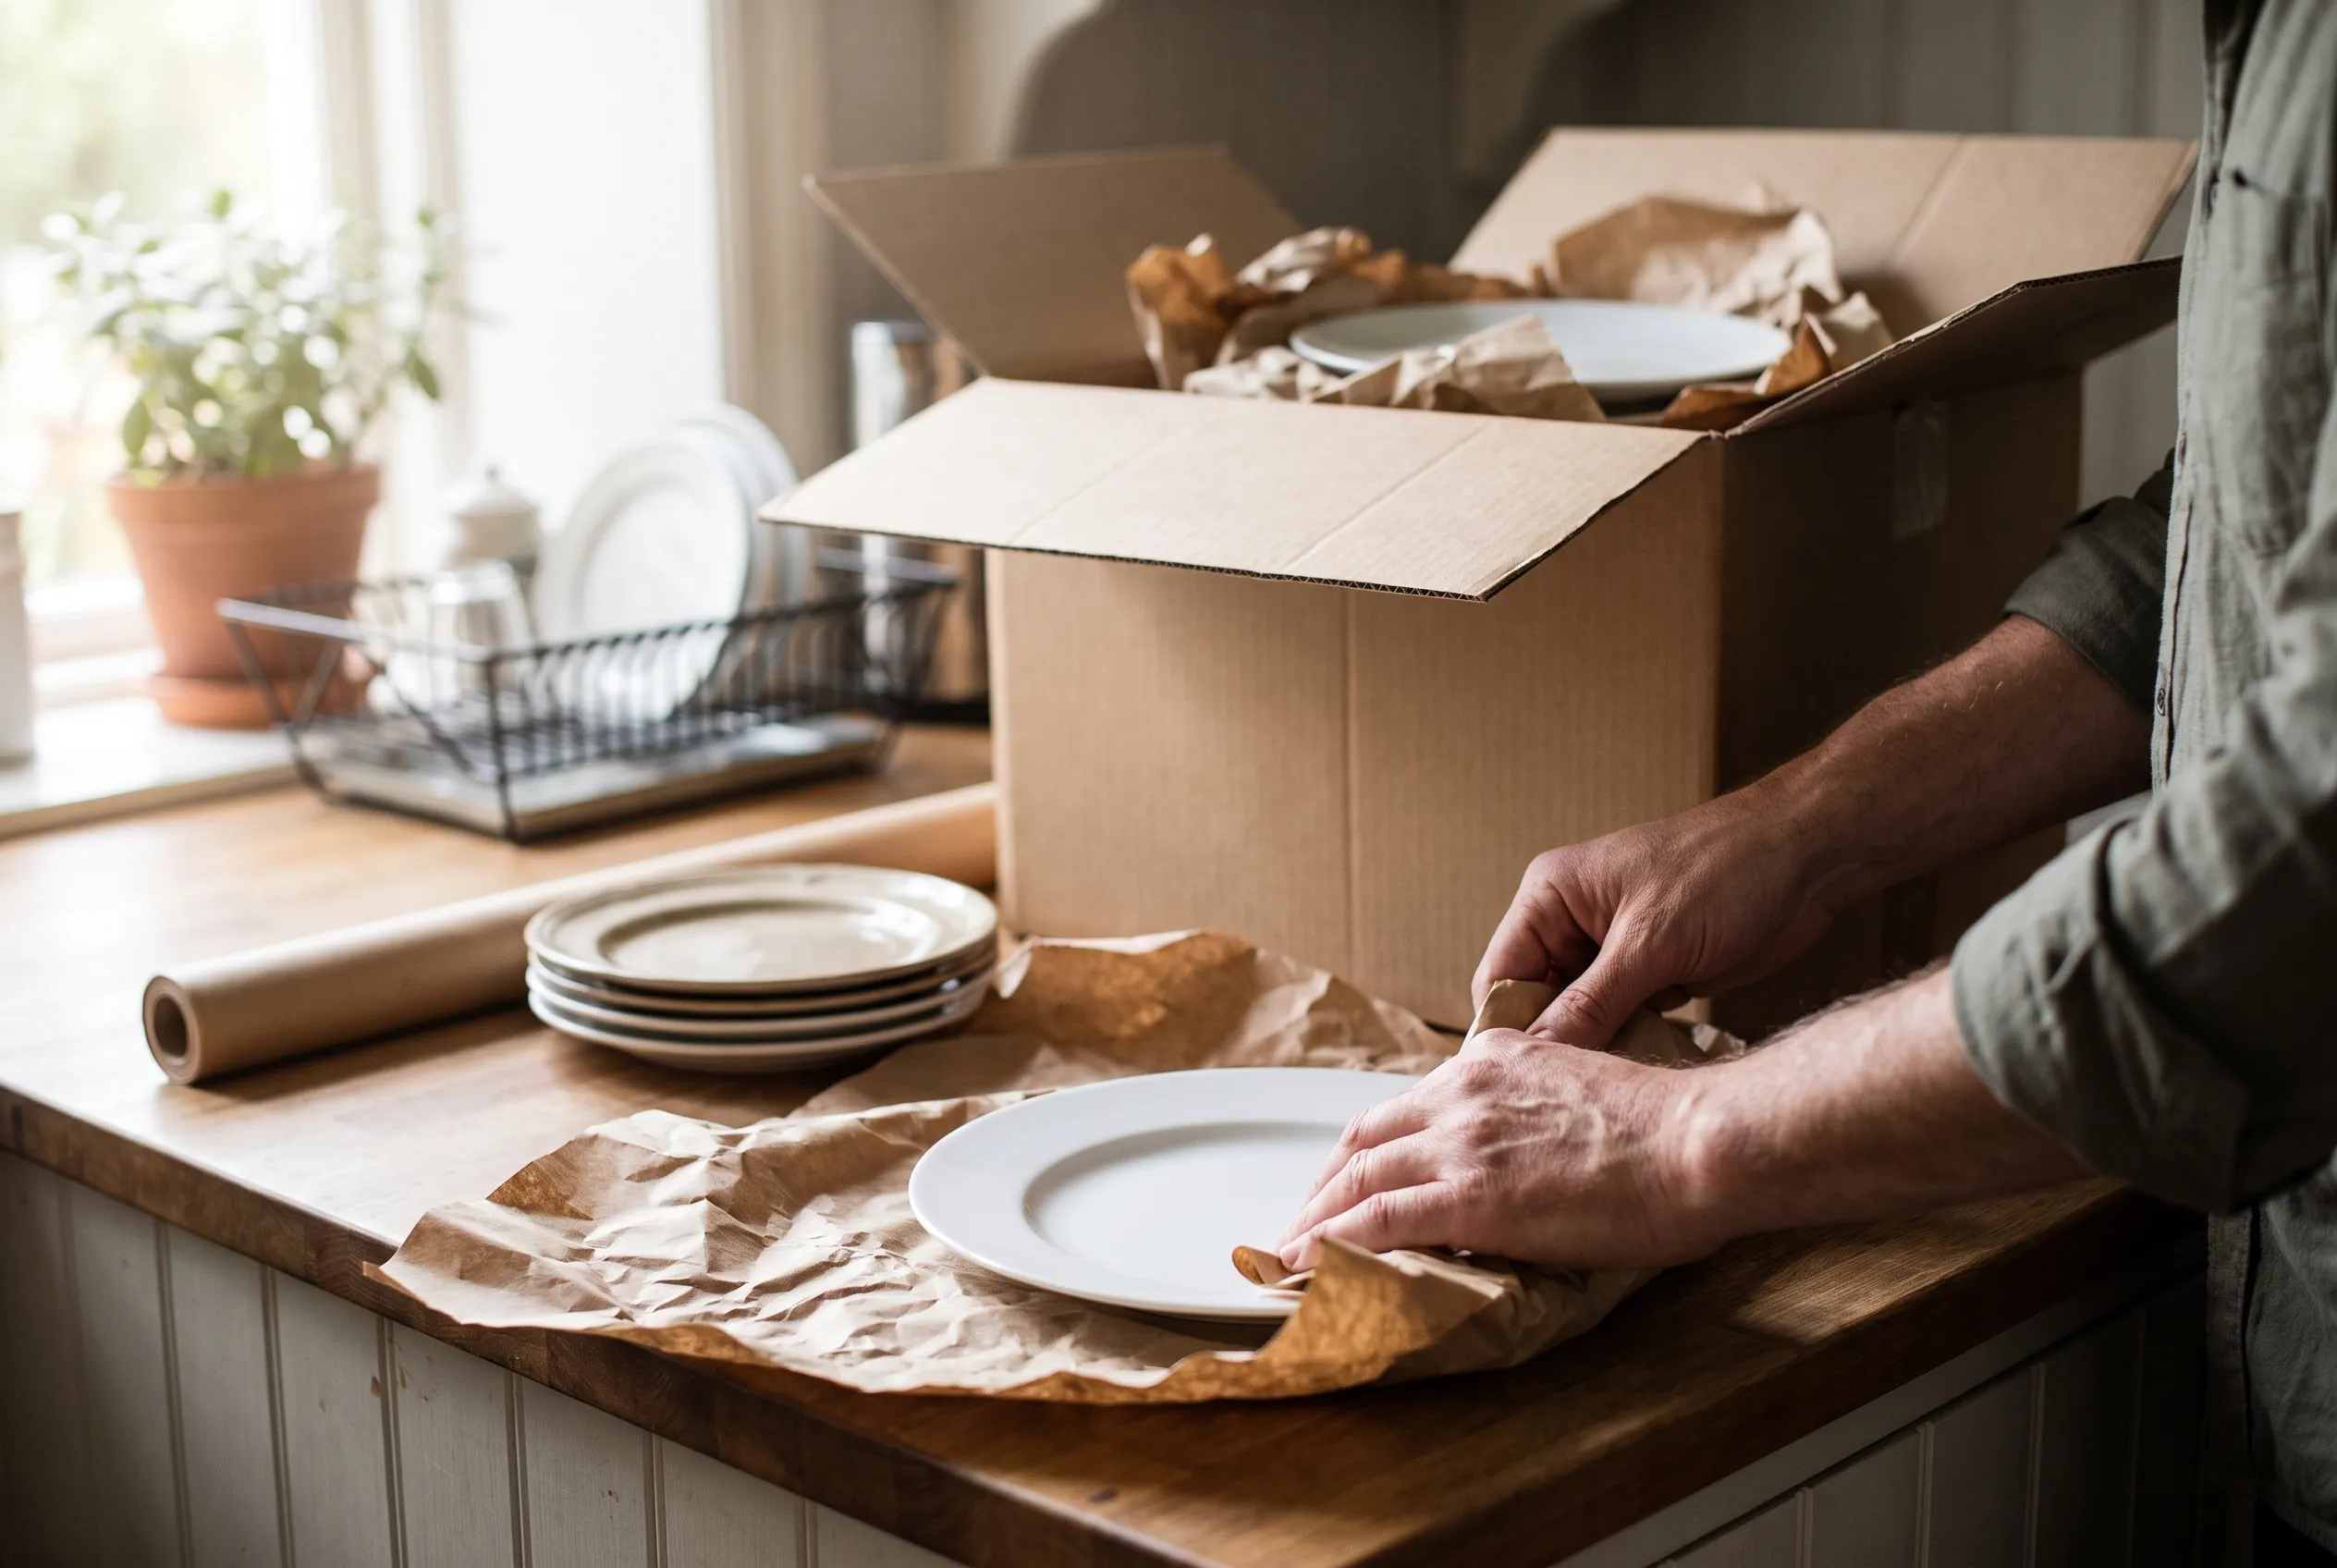
This is the single tip that saves the most dishes. Plates are far stronger on their edge than lying flat. A stack of plates lying down cracks straight through the middle when the box gets bumped. Plates standing upright, like records in a crate, absorb the shock.
Wrap each plate in a sheet or two of packing paper. Bundle three or four together with another wrap around the group. Line the bottom of the dish pack box with a few inches of crushed paper, then set the wrapped bundles in vertically, snug against each other. Fill every gap on the sides and top with more paper until nothing moves when you gently shake the box. If it rattles, it is not done.
Give Glassware and Stemware Their Own Space
Glasses break because they touch each other or because the box has empty room to move. Wrap each glass individually, paying attention to the rim and the stem, which are the weak points. Stuff a little paper inside taller glasses and vases so the walls have support.
Use cell dividers for anything with a stem or a thin wall. Stand the glasses up, never on their sides, and keep the heavier tumblers on the bottom row with delicate stemware on top. Mark the box FRAGILE on the top and on at least two sides so it is obvious no matter how the box is sitting.
Handle Appliances by Type
Appliances are a mixed bag, so we split them into three groups.
Small countertop appliances (toaster, coffee maker, blender). Empty and dry them completely first. A coffee maker with water still in the reservoir will soak the box and everything under it. Tape down loose cords, remove glass carafes and blender jars to wrap separately, and pad the body in a medium box.
Sharp blades and attachments. Food processor blades, mandolines, and the like are the fastest way to slice a hand on moving day. Wrap each blade in paper, tape it closed, and label the bundle so whoever opens it knows what is inside.
Large appliances (refrigerator, range, dishwasher). These need to be unplugged and, for a fridge, defrosted and drained at least 24 hours ahead so you are not fighting a puddle. Moving a full-size refrigerator or range down stairs is genuinely heavy and awkward, and it is exactly the kind of thing our local moving crews handle every week. There is no shame in leaving the big stuff to two movers and a dolly.
Knives, Pantry, and the Last-Day Details
Kitchen knives get rolled in a dish towel, secured with a rubber band or tape, and labeled. Never toss loose knives in a box.
For the pantry, be honest about what is worth moving. Open bags and half-used spices are not worth the weight. Seal liquids like oil and syrup in a zip bag in case a lid loosens. Canned goods go in small boxes only.
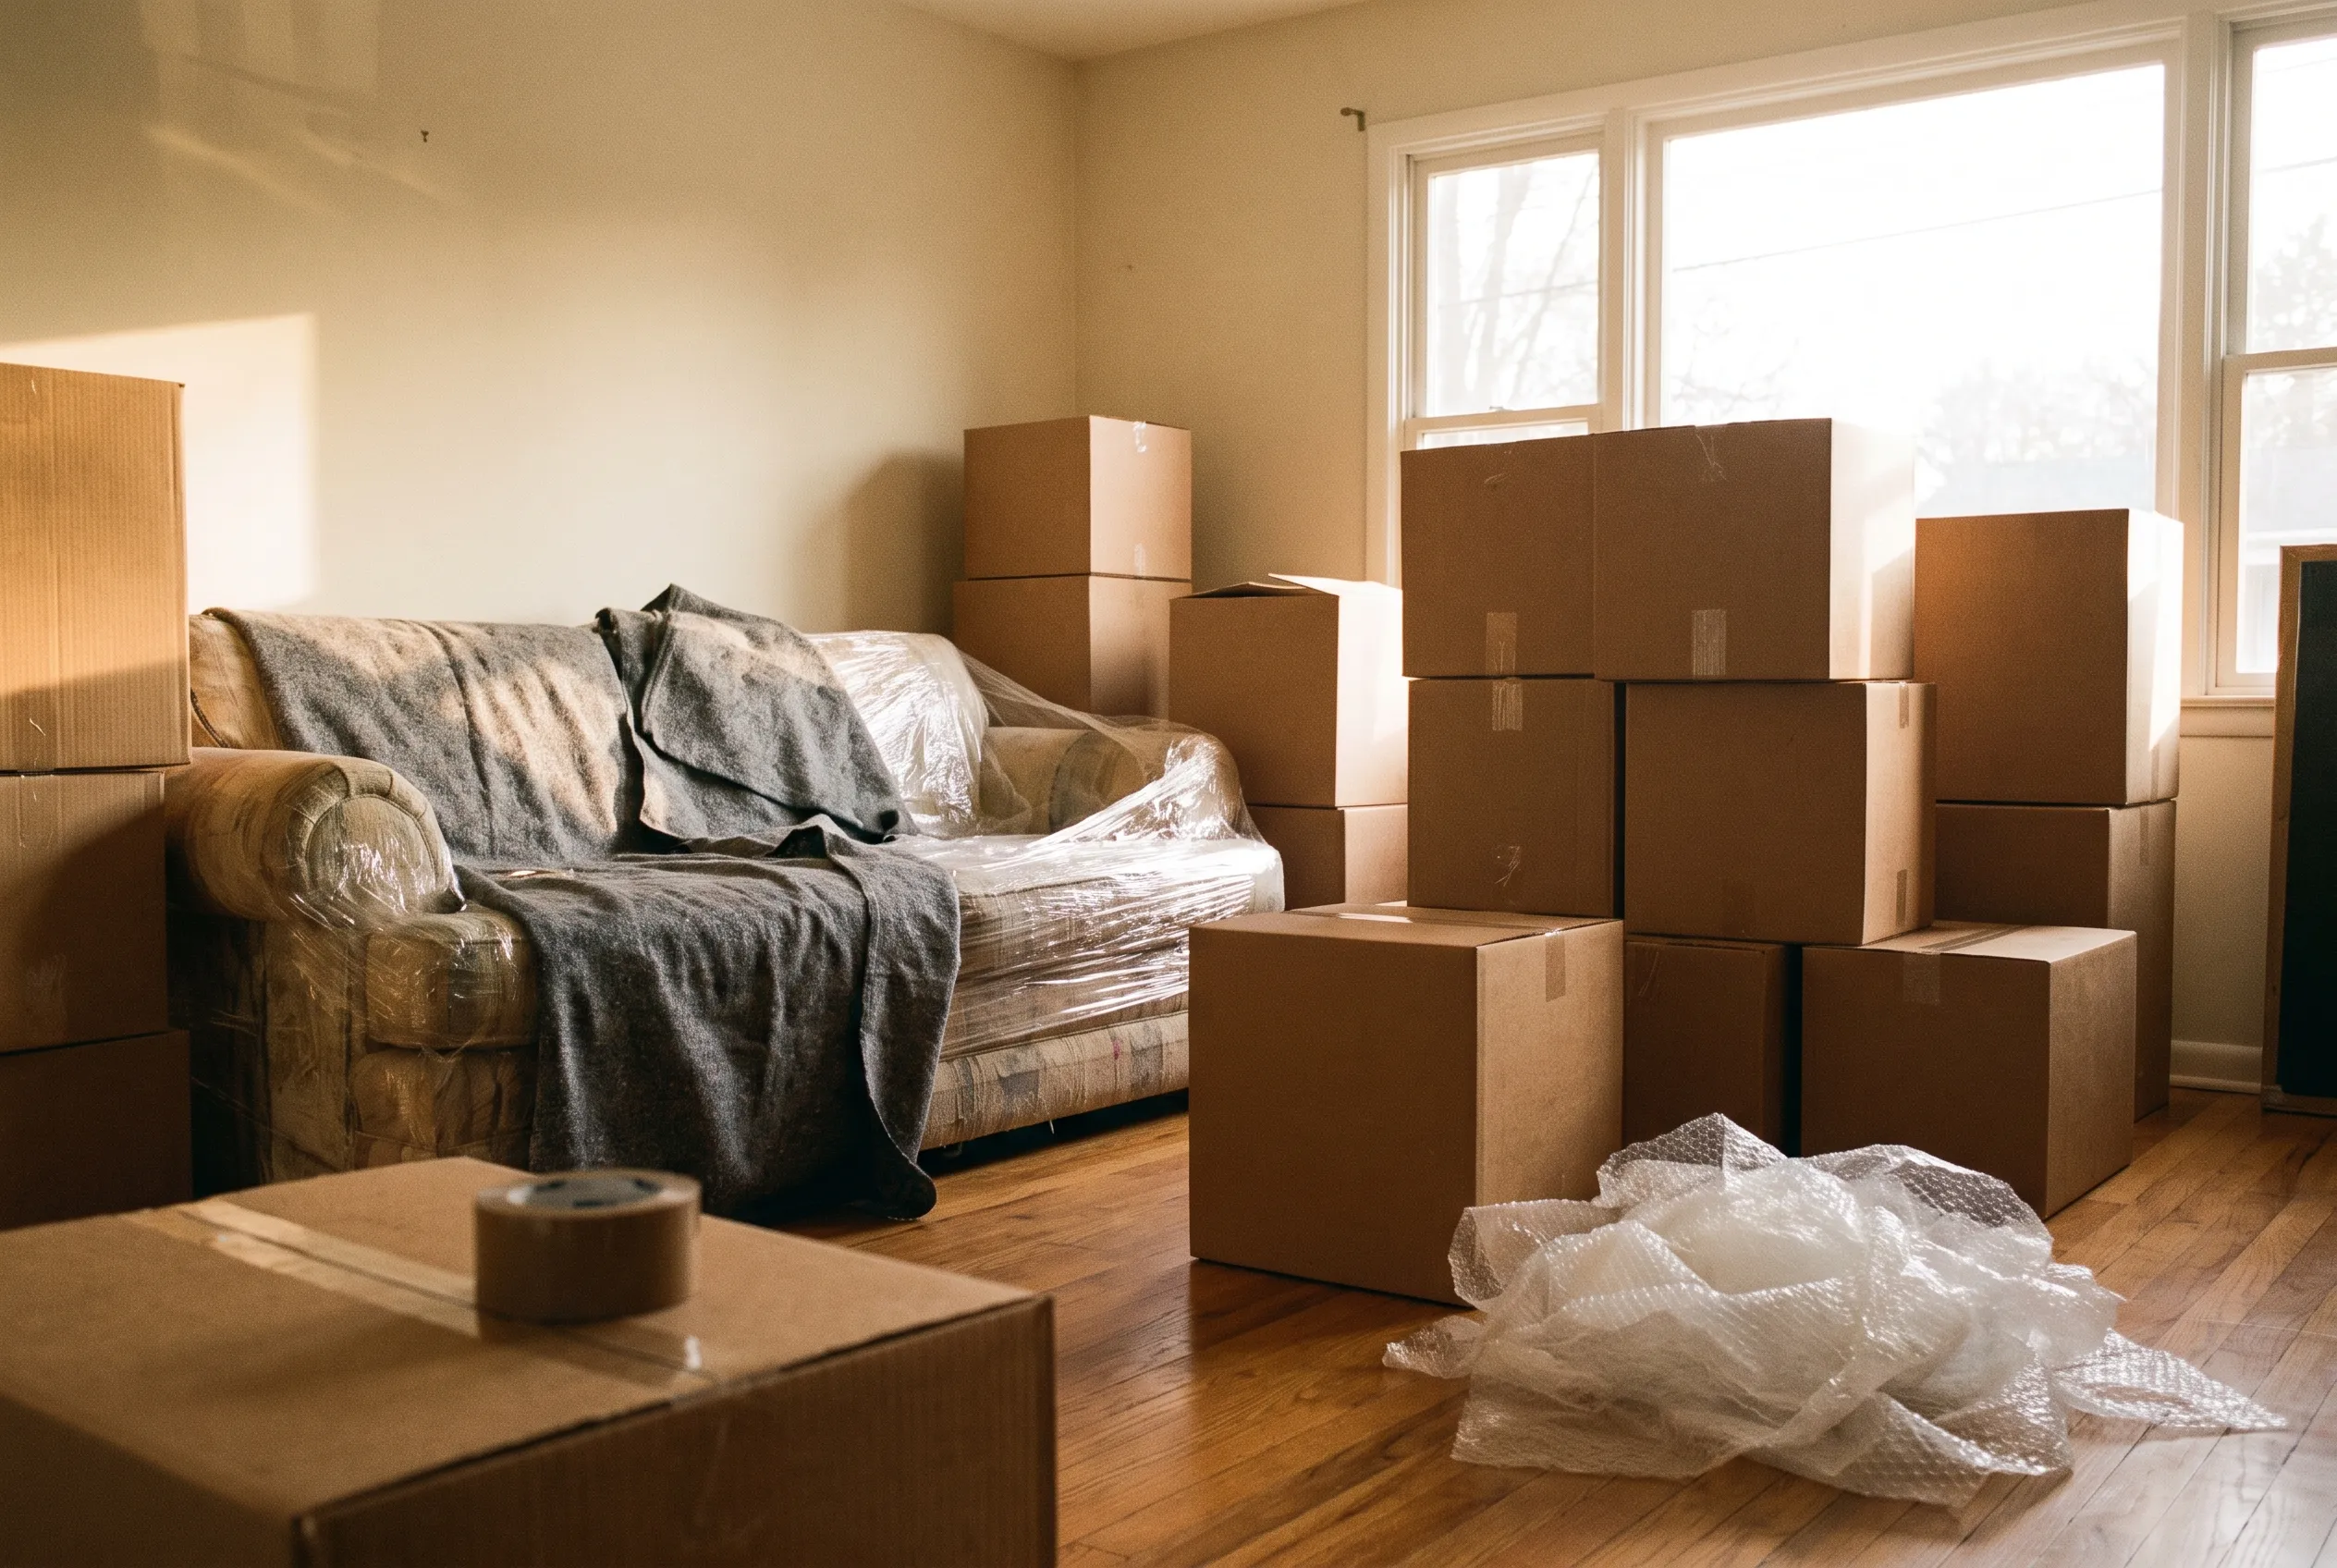
Pack the everyday items last and open them first. Set aside a single open first box with a few plates, mugs, a pan, a knife, and dish soap so your first night in the new place does not mean digging through a wall of cardboard. A little kitchen planning pairs well with our ultimate moving checklist, which keeps the whole timeline on track, and our moving day tips for the day the truck arrives.
Label and Load It Right
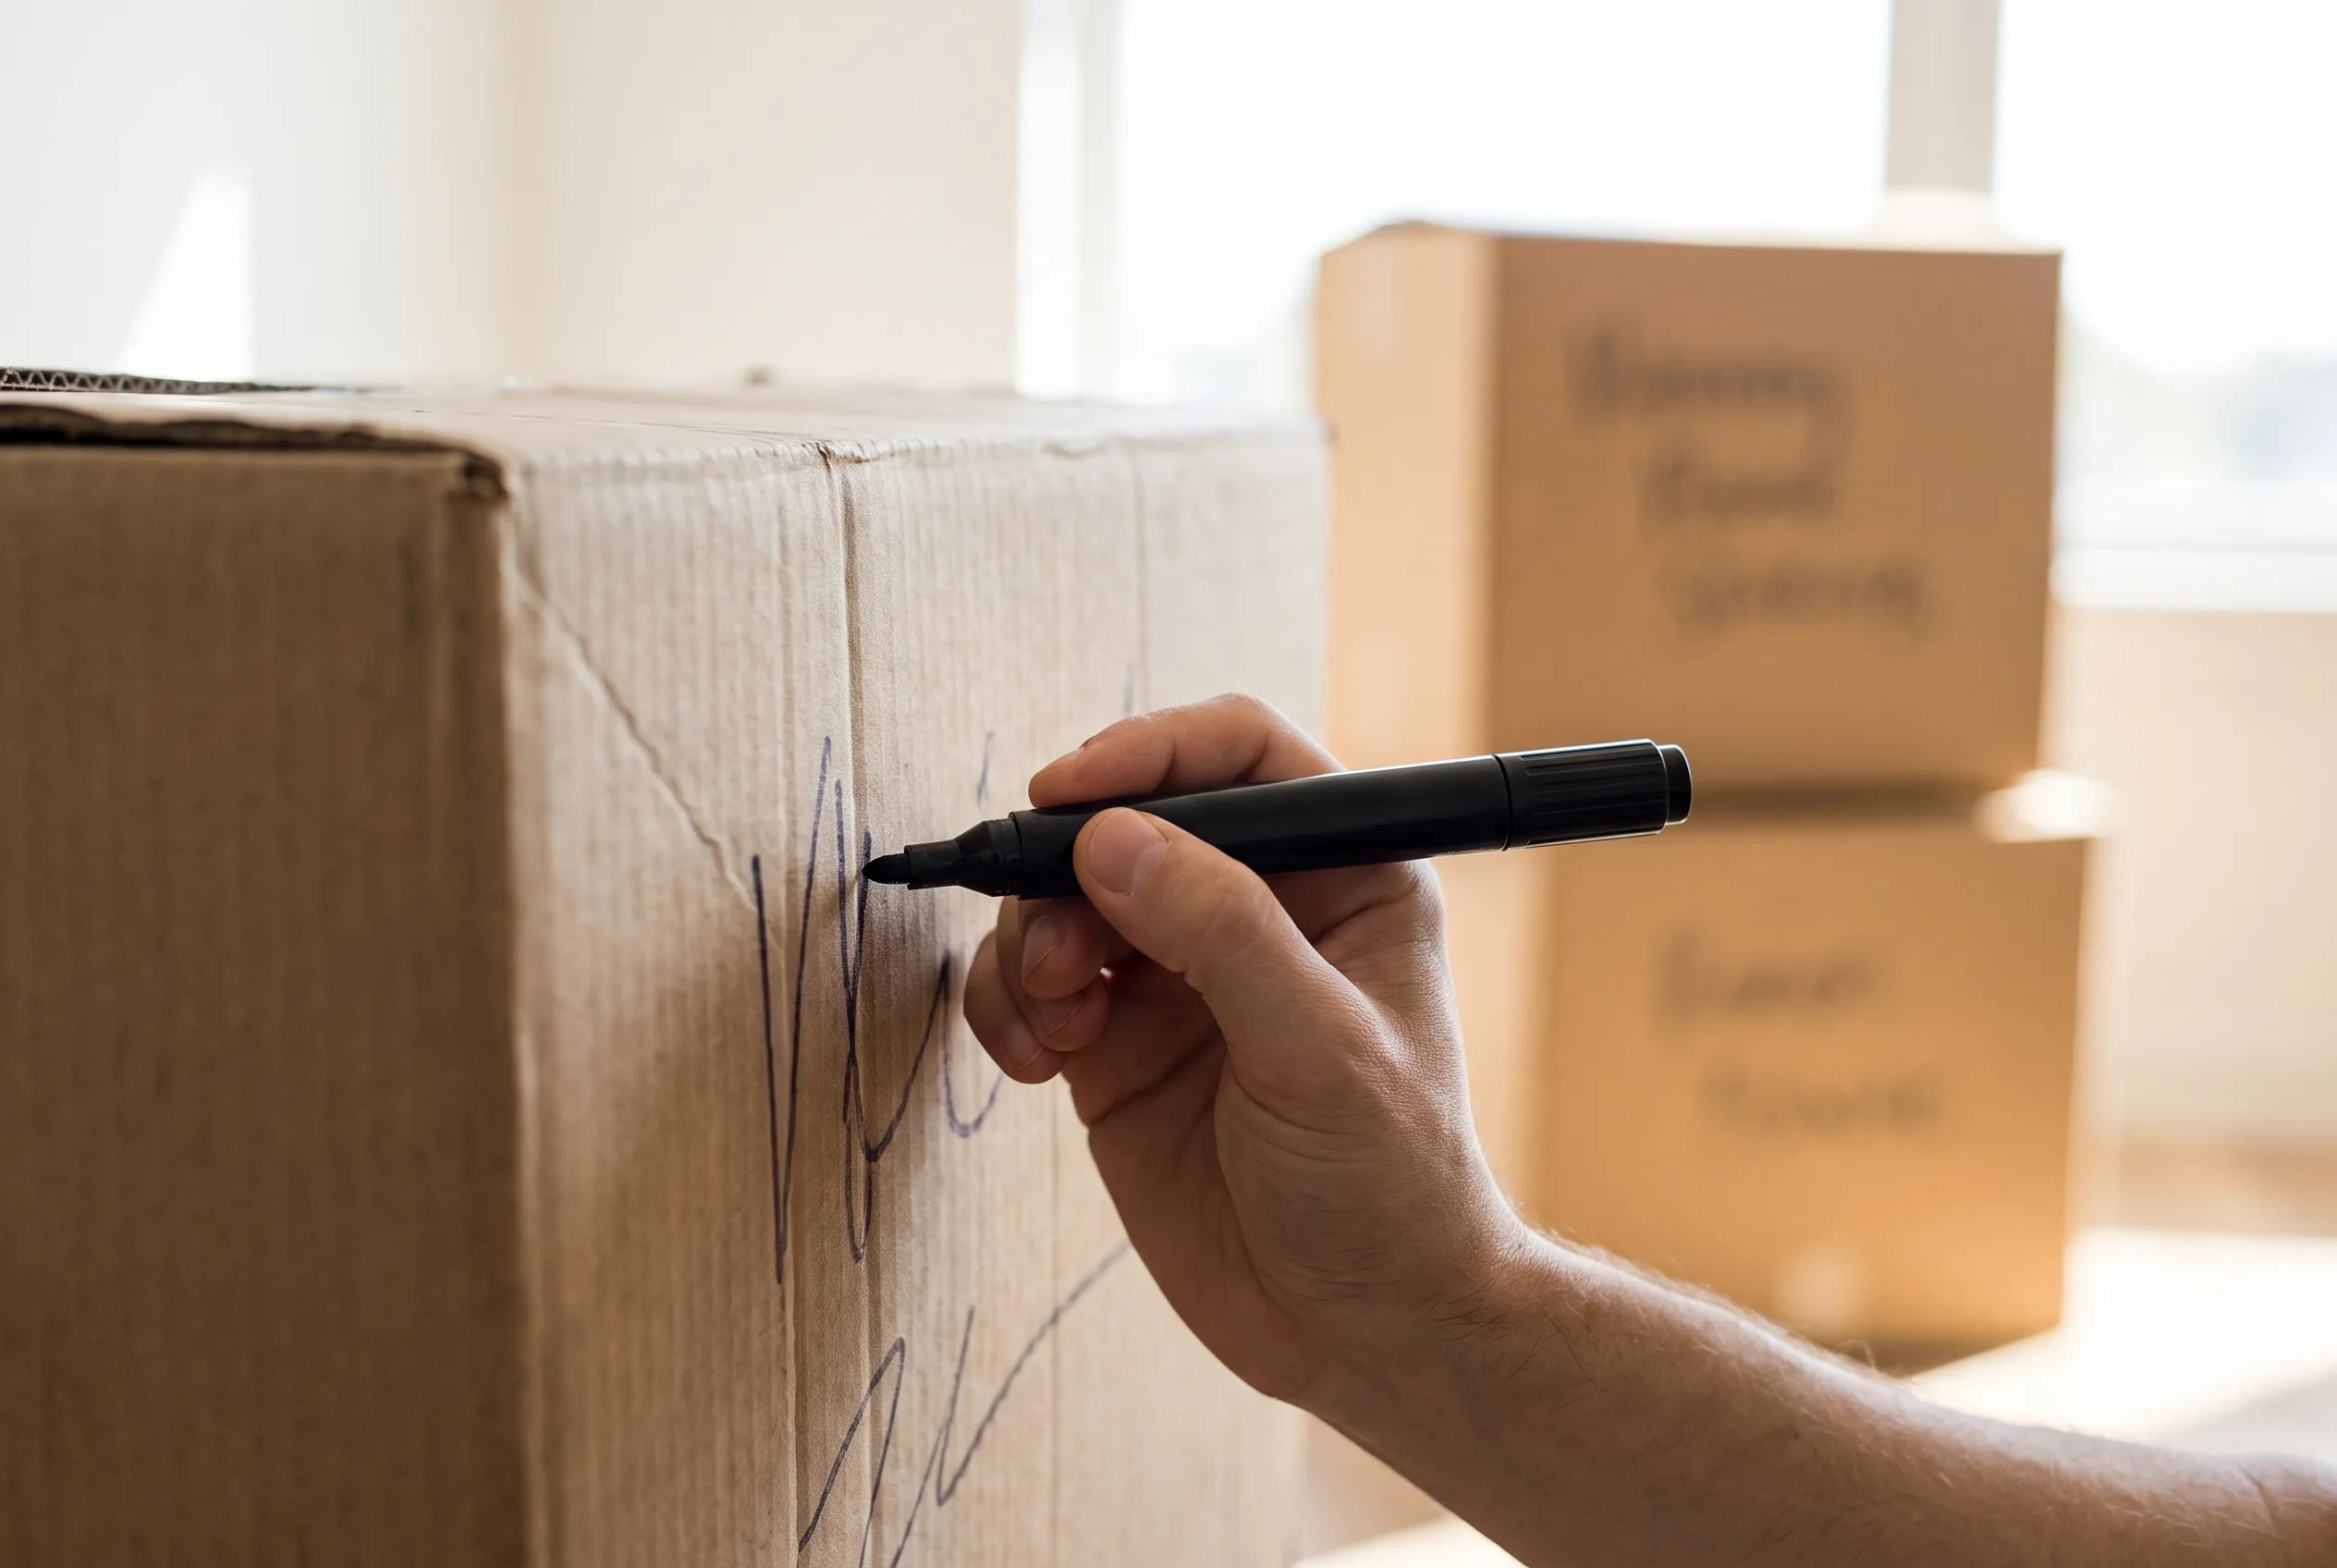
Every kitchen box gets three things written on it: the room, a one-line description of the contents, and THIS SIDE UP with an arrow on fragile boxes. Loading matters too. Dish packs and glassware ride upright, on top of heavier flat items, never crushed under a dresser. Our crews load a dedicated truck for your move only, so your fragile kitchen boxes are not stacked under a stranger’s washer halfway across town.
If you are moving anywhere around Spokane, from the South Hill to Spokane Valley or out toward Liberty Lake, packing the kitchen well is worth the hour it takes. Fewer broken plates, faster unloading, and a calmer first night.
Want the kitchen (or the whole house) packed by a crew that does it every day? Get a free quote or call us at (509) 862-4968 and we will walk you through it.
Planning a move in the Spokane area?
Get a free, no-obligation quote from a licensed local crew.